Fixation rapide et sûre des sutures dans les zones difficiles d’accès
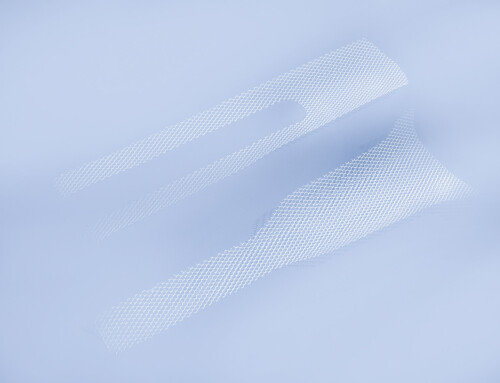
- Idéal en combinaison avec les prothèses A.M.I. pour la reconstruction du plancher pelvien (par ex. InGYNious)
- Pour sacrospinofixation (Selon Amreich / Richter)
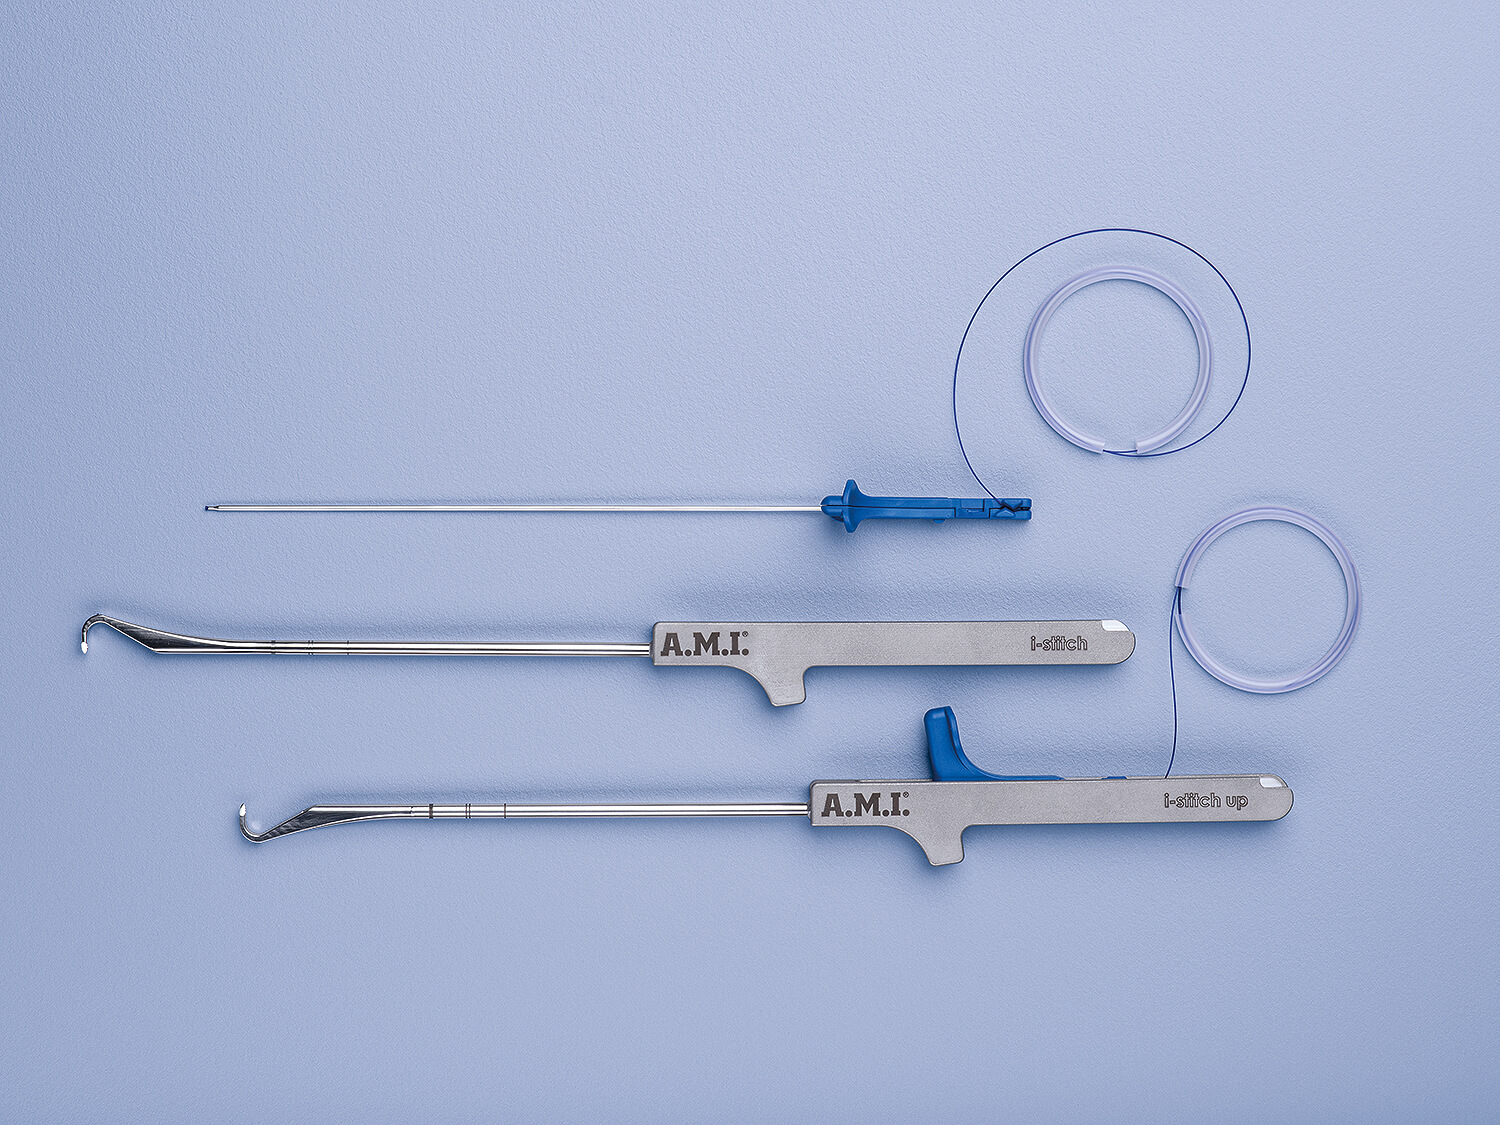
- Deux modèles d’instruments pour faciliter la fixation aux structures dans toutes les directions
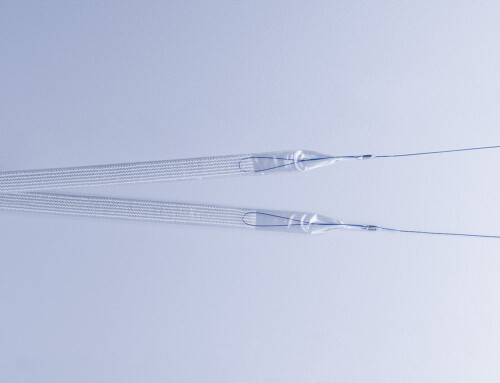
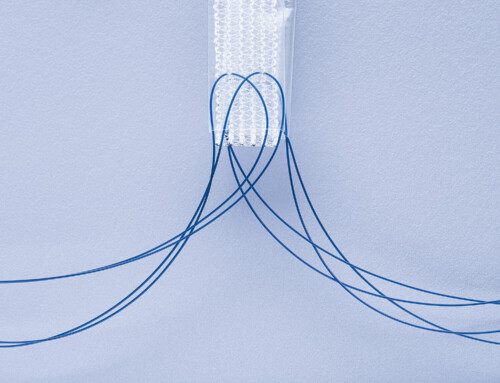
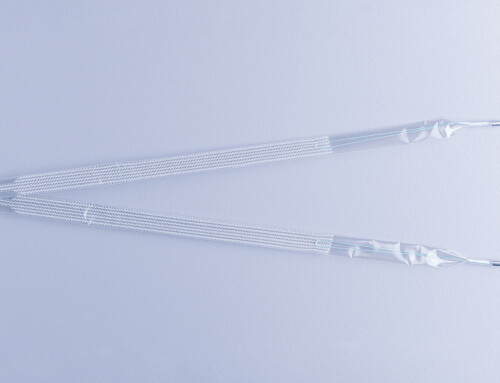
- Matériau de suture résorbable et non-résorbable
Avantages de l’i-Stitch :
Fixation en 3 étapes simples :
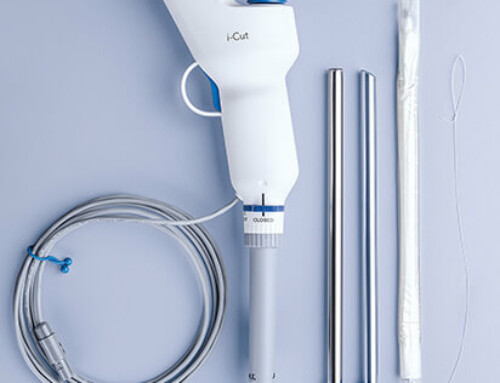
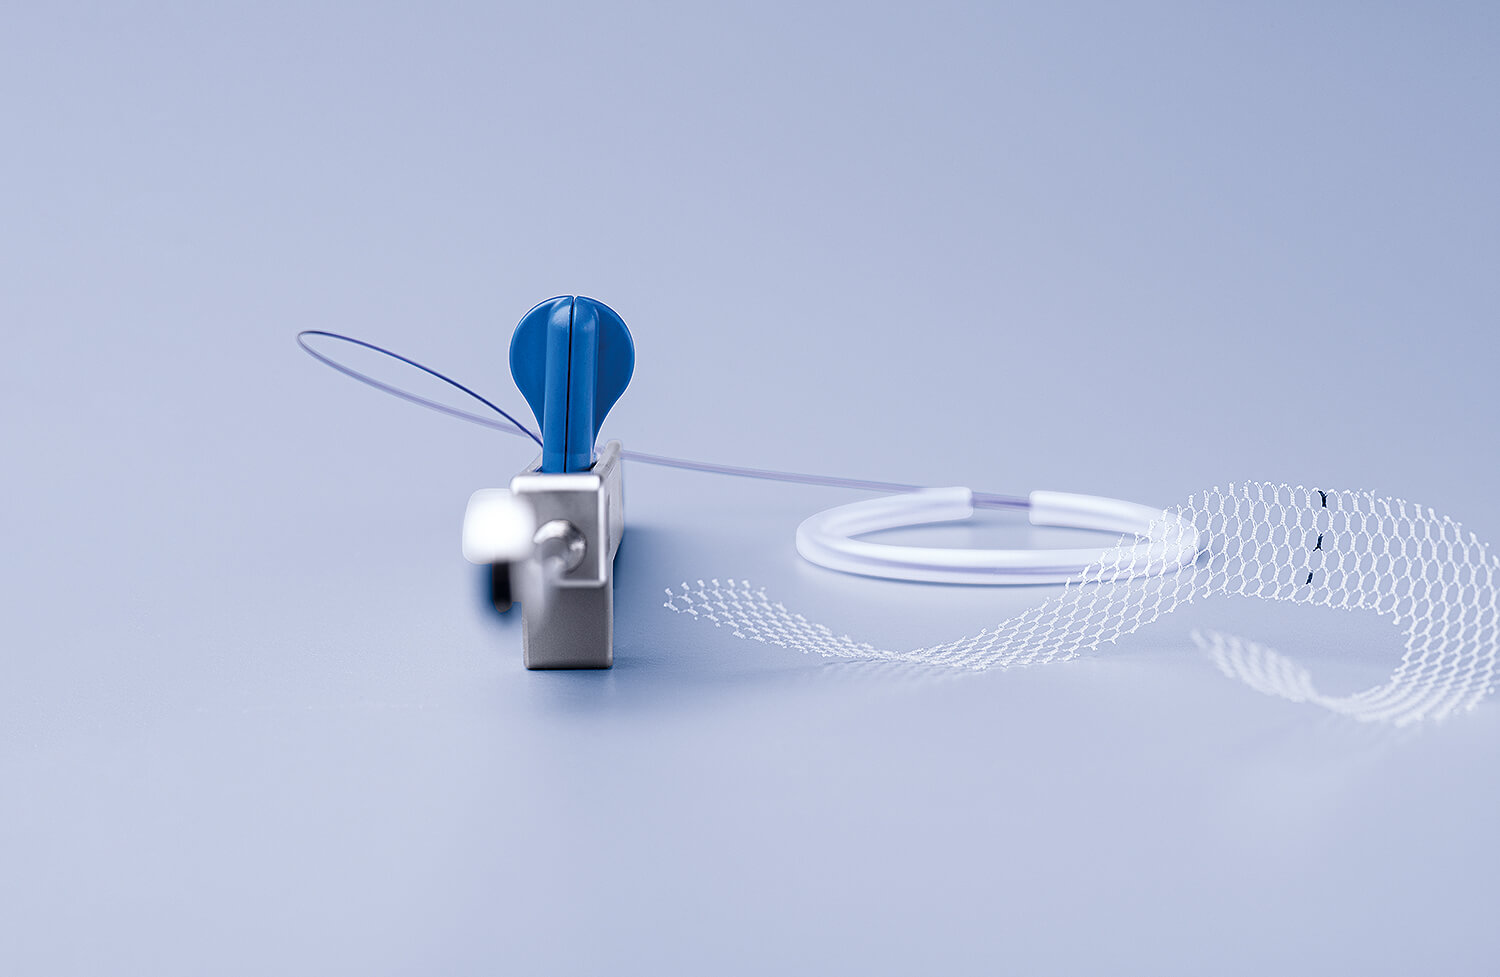
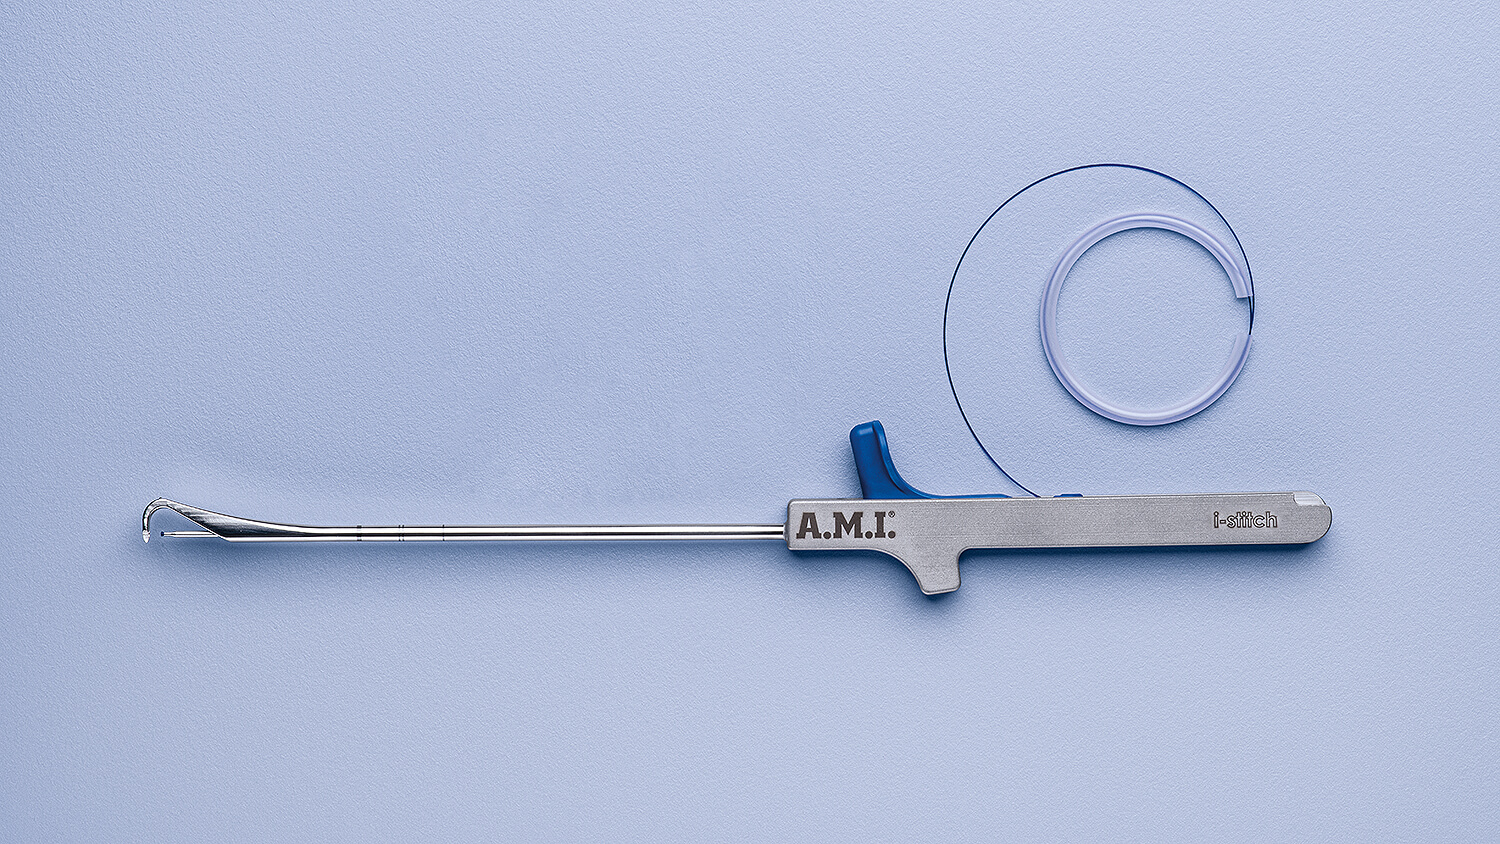
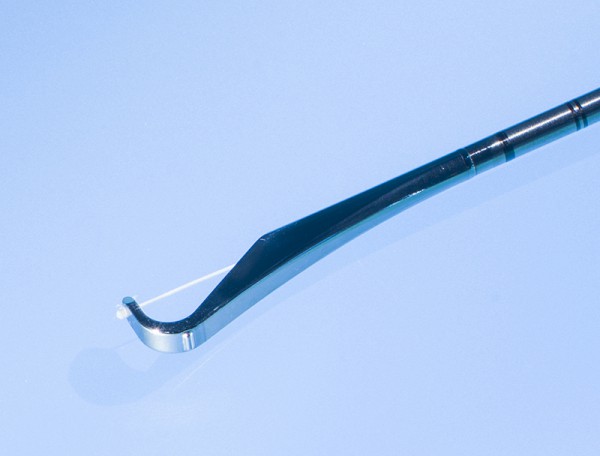
L’instrument i-Stitch d’A.M.I. permet une fixation rapide et efficace des sutures aux tissus, en particulier dans les zones difficiles à atteindre, telles que la région postérieure du ligament sacro-épineux. L’i-stitch, d’un fonctionnement simple, a été conçu pour être utilisé d’une seule main.
-

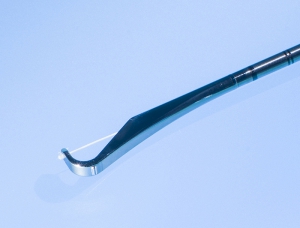
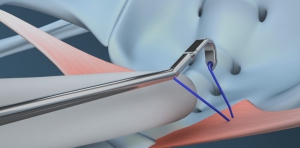
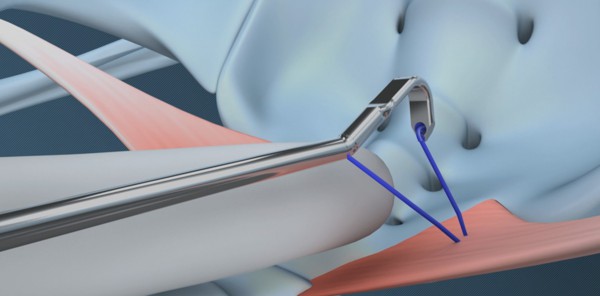
- 2. Pousser la cartouche à travers les tissus
-
- 3. Retirer l’aiguille, la suture reste en place dans les tissus
-

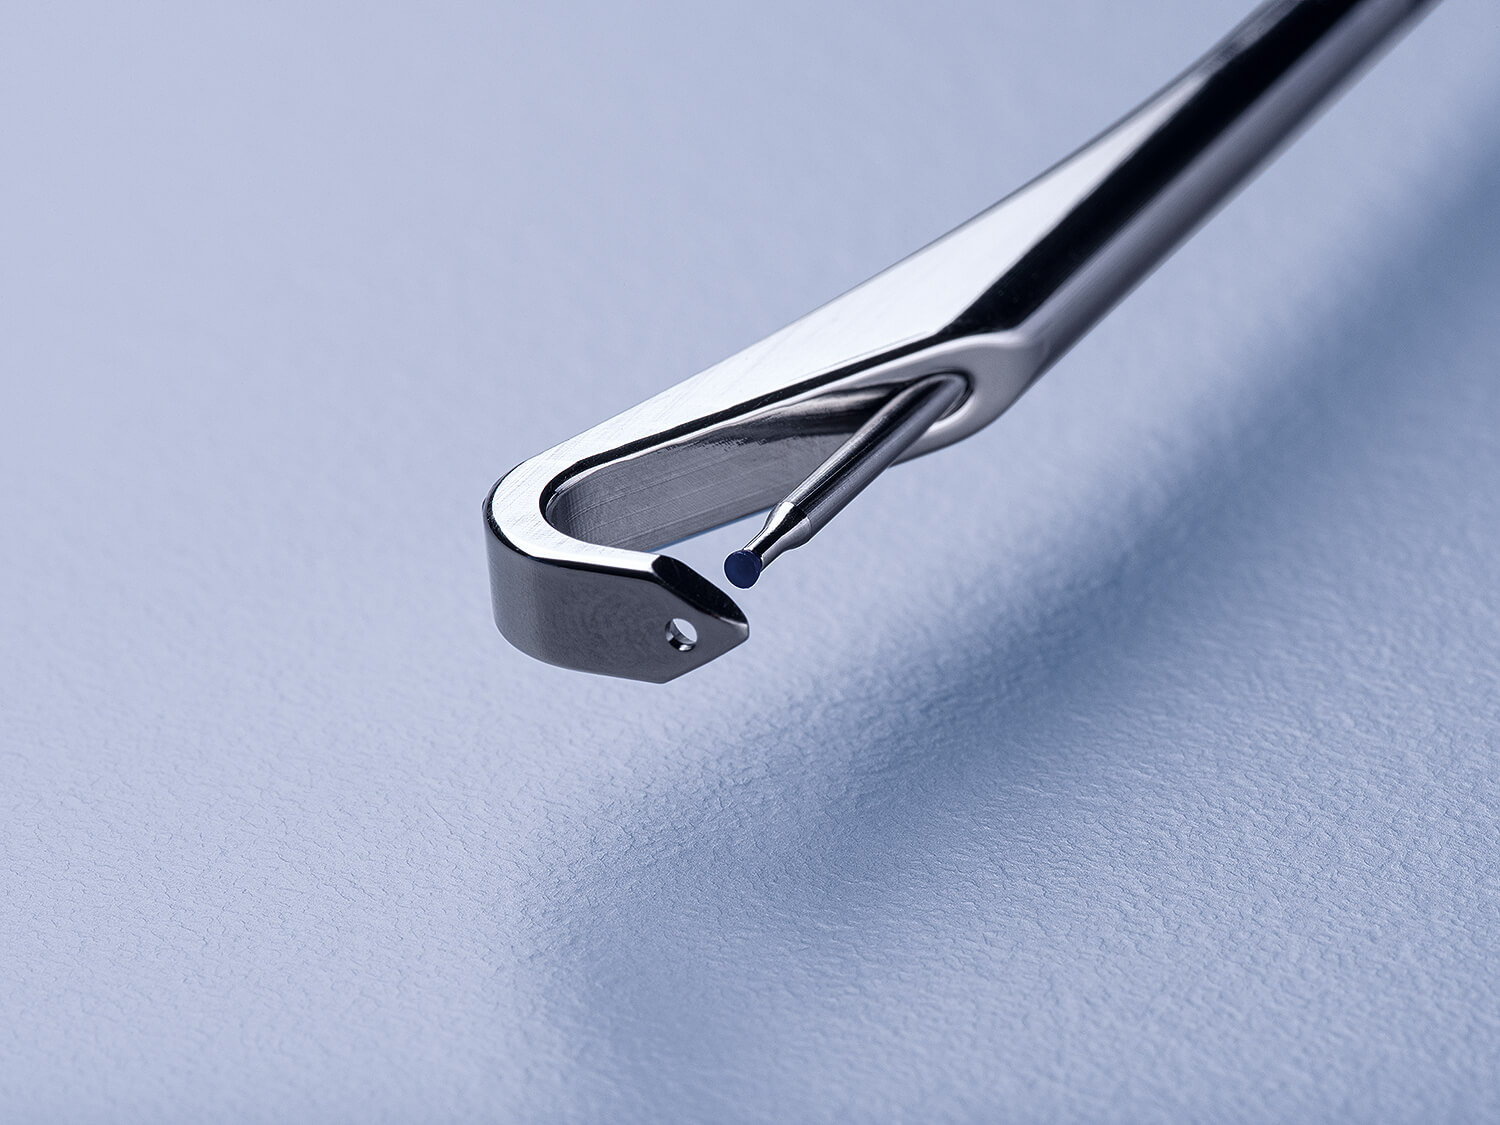
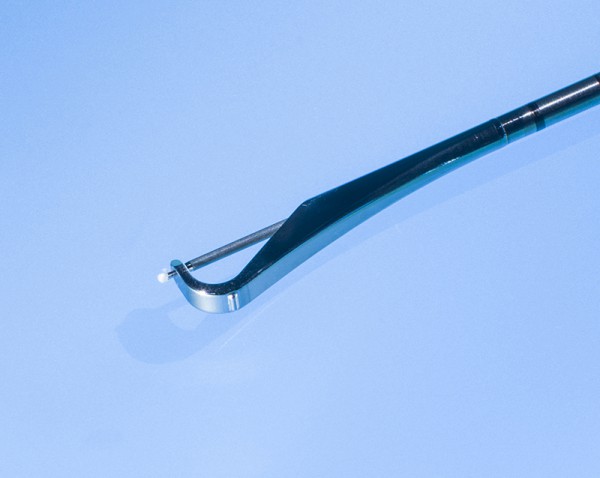
- 1. Positionner la pointe de l’instrument

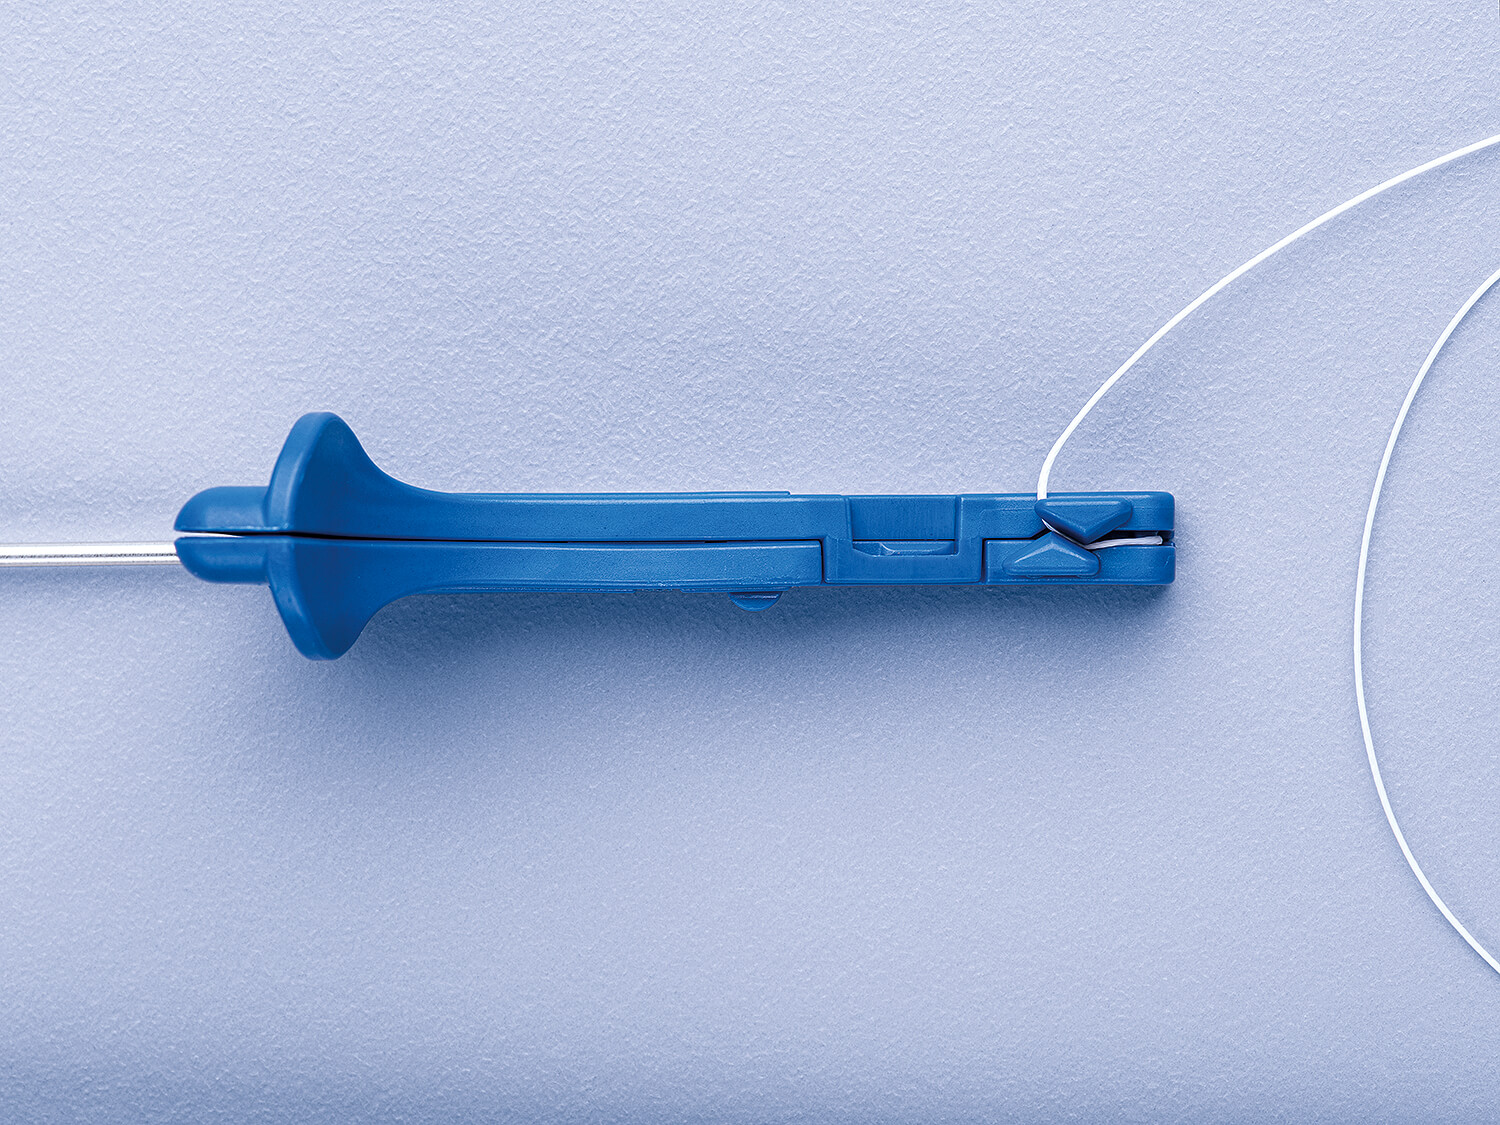
Une fois équipé de la cartouche jetable, comprenant un curseur à actionner avec le pouce, un distributeur, une aiguille creuse et un matériau de suture spécialement formé, l’instrument réutilisable est prêt pour la fixation de la suture en seulement trois étapes simples. Une fois postionnée à l’endroit voulu, la pointe de l’i-Stitch est pressée contre le tissu jusqu’à ce qu’elle y pénètre. L’aiguille creuse, pré-chargée d’une suture, est ensuite poussée jusqu’à ce que l’extrémité arrondie de la suture traverse la pointe de l’instrument. On entend alors un clic, l’aiguille creuse peut être retirée et l’instrument désengagé du tissu avec précaution.
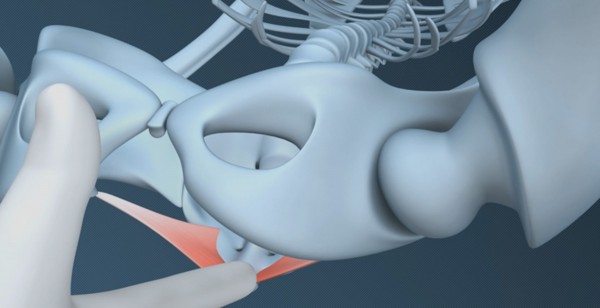
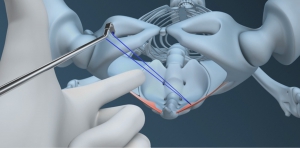
i-Stitch pour la fixation transvaginale sacrospinale

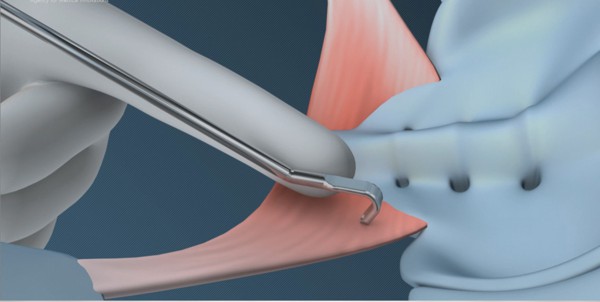
Après avoir préparé la zone pour assurer un accès suffisant au point de fixation sur le ligament sacrospinal, le chirurgien marque ce point avec son index. En utilisant le doigt comme guide, le chirurgien fait ensuite glisser l’i-Stitch le long de celui-ci jusqu’à ce que l’instrument atteigne la position souhaitée sur le ligament.
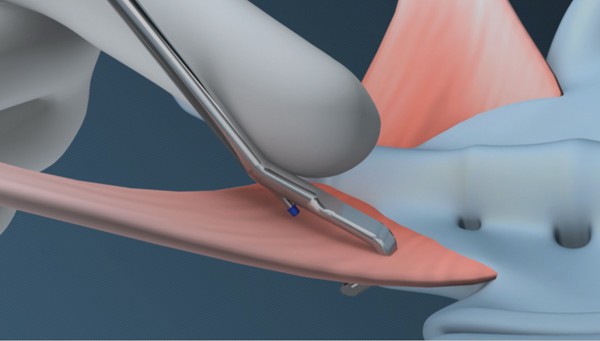
L’extrémité de l’unité de chargement peut alors être poussée vers l’avant jusqu’à ce qu’un clic se fasse entendre, et le bout de la suture est alors fixé et en place. Après avoir retiré l’unité de chargement, le chirurgien peut alors retirer l’instrument du site en laissant la suture attachée au tissu. Fixez la suture dans une position très difficile en quelques minutes seulement !
-

- 1. Après avoir préparé la zone pour assurer un accès suffisant, le point de fixation prévu sur le ligament sacrospinal est marqué par l’index du chirurgien.
-

- 2. En utilisant ce doigt comme guide, le chirurgien fait ensuite glisser l’i-stitch le long de celui-ci jusqu’à ce que l’instrument atteigne la position souhaitée sur le ligament.
-

- 3. L’avant de l’instrument est alors enfoncé dans le tissu, et l’extrémité de l’unité de chargement est poussée vers l’avant.
-

- 4. L’unité de chargement est poussée au maximum jusqu’à ce qu’un clic se fasse entendre, l’extrémité de la suture est fixée et en place.

-
- 5. Avec la suture fermement attachée au tissu, l’unité de chargement peut être retirée du site.
-
- 6. L’instrument est alors complètement retiré. Le résultat est une fixation sûre de la suture dans une position très difficile en moins d’une minute !